
Creating a no-dig garden is a fantastic way to grow vegetables, flowers, or herbs while preserving soil health, reducing weeds, and avoiding the back-breaking work of tilling. It mimics nature’s layering process and builds rich, living soil over time. Here’s a comprehensive, step-by-step guide to starting your first no-dig garden.
🌱 What is a no-dig garden?
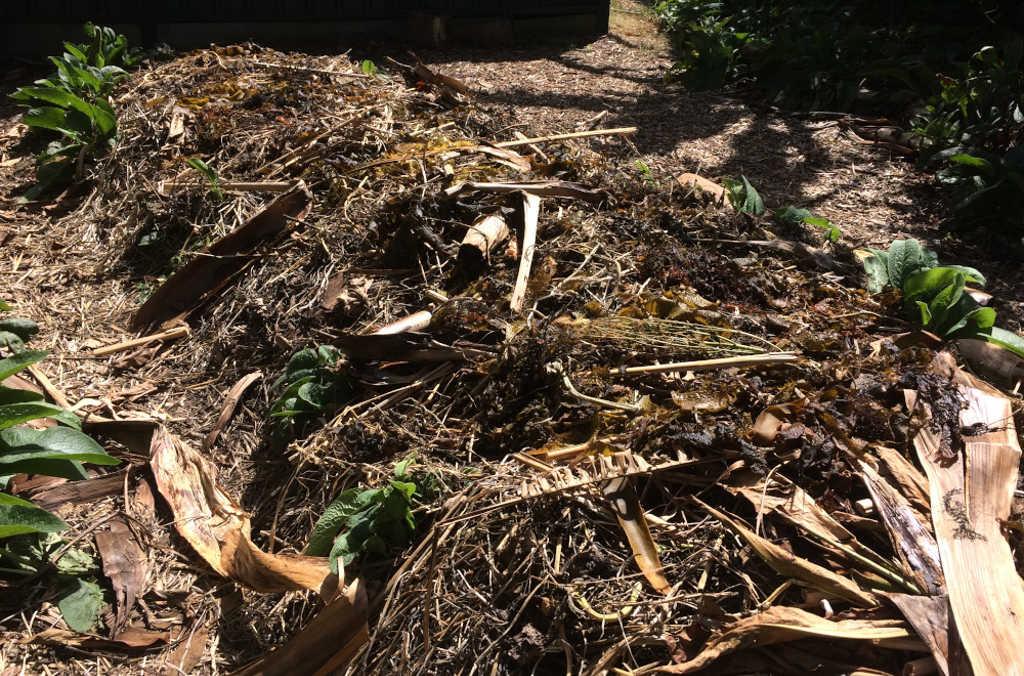
A no-dig garden is a method of gardening that involves layering organic materials (like compost, mulch, and cardboard) directly on the ground rather than digging or tilling the soil. This builds healthy soil ecosystems and minimises weed growth.
✅ Benefits
- Preserves soil structure and microorganisms
- Suppresses weeds naturally
- Requires less watering
- Increases biodiversity and plant health
- Easier on your back and time
🛠️ Supplies you’ll need
- Cardboard or several layers of newspaper (non-glossy, ink-free)
- Compost (mature and weed-free)
- Mulch (straw, grass clippings, wood chips, or leaf mold)
- Optional: Manure, worm castings, kitchen scraps, rock dust
📍 Step-by-step instructions
1. Choose a site
- Full sun (6–8 hours/day) is ideal for most veggies
- Good drainage is essential
- Can be done on grass, old garden beds, gravel, or even concrete
2. Prepare the area
- Mow or cut down any existing vegetation (grass, weeds) as low as possible
- No need to pull weeds – they’ll break down under the layers
3. Lay Down the cardboard (weed barrier)
- Use plain cardboard (remove all plastic tape and labels)
- Overlap the edges by 10-15cm (4–6 inches) to block weeds
- Soak the cardboard with water to help it break down and stay in place
4. Add organic layers (like lasagna!)
Think of it as building a soil lasagna. The idea is to alternate layers of green (nitrogen-rich) and brown (carbon-rich) materials.
🟩 Green (nitrogen-rich)
- Kitchen scraps (no meat or dairy)
- Coffee grounds
- Fresh grass clippings
- Manure (aged)
🟫 Brown (carbon-rich)
- Dried leaves
- Straw (not hay)
- Shredded newspaper
- Sawdust (untreated wood)
🧱 Example layering:
- Cardboard base
- 5-10cm (2–4 inches) of compost
- 10cm (4 inches) of straw or mulch
- Optional: Another layer of compost or worm castings on top
5. Water the layer
- Water each layer as you go
- The pile should be moist like a wrung-out sponge
6. Planting
- You can plant immediately into the top compost layer, or wait 1–2 weeks for the layers to begin decomposing
- Create small holes or rows in the compost, insert seedlings or seeds, and water in
7. Mulch and maintain
- Add a thick layer of mulch (straw or wood chips) to retain moisture and suppress weeds
- Replenish compost and mulch yearly
- Minimal weeding and watering required once established
🌿 Optional: raised no-dig beds

You can create edges using bricks, wood, or corrugated iron for a tidy look, especially useful if space is limited or you want to increase depth.
🧠 Tips for success
- Use high-quality compost to avoid bringing in weeds or pests
- Avoid hay (it contains seeds)
- Rotate crops yearly to prevent soil-borne diseases
- Add worm castings or compost tea for a microbial boost
📅 When to start?
- Spring or autumn are ideal
- You can start in summer, but you may need to water more frequently
🧺 What can you grow?
- Vegetables (tomatoes, carrots, lettuce, peas, beans etc)
- Herbs (basil, parsley, mint, thyme, etc)
- Cruciferous vegetables (broccoli, kale, cauliflower etc)
- Root vegetables (carrots, onions, garlic, beetroot etc)
- Berries (strawberries, blueberries etc)
- Flowers and pollinator-friendly plants

